Deploy Kubeflow Locally
Kubeflow is an open-source ecosystem for managing the machine learning lifecycle. It has many standalone components, each handles a different stage in the ML lifecycle. To deploy Kubeflow, we can install each components separately, or install the Kubeflow Platform, which is a bundled version of all the components with some extra features. Here, I am going to go through the steps to deploy the Kubeflow Platform locally on minikube.
Prerequisites
Here are the prerequisites before we start:
- Have a local kubertenes cluster (minikube) up and running.
- Have
kubectlinstalled and configured to access the minikube cluster. - Have
kustomizeinstalled.
Deploy Kubeflow Platform on minikube
Clone the manifests repository
To deploy Kubeflow Platform, we first clone this kubeflow manifests git repository
git clone https://github.com/kubeflow/manifests.git
and go to the repository’s root directory
cd manifests
Change user and password (optional)
By default, the user is set to user@example.com and the password is
12341234. If you prefer to change this, follow the steps below.
Edit the file common/dex/overlays/oauth2-proxy/config-map.yaml and modify
the email and username fields.
    staticPasswords:
    - email: <CHANGE_TO_YOUR_EMAIL>
      hashFromEnv: DEX_USER_PASSWORD
      username: <CHANGE_TO_YOUR_USERNAME>
Do not change the value for hasFromEnv.
Now we need to generate a password hash for your password. To do so, we can
use Python’s passlib and bcrypt. In your python environment run
pip install passlib bcrypt
to install the libraries. Then, run the command
python3 -c 'from passlib.hash import bcrypt; import getpass; print(bcrypt.using(rounds=12, ident="2y").hash(getpass.getpass()))'
You will be prompted to enter a password. After entering the password, the password
hash will be generated. Copy this hash, and replace the value of
DEX_USER_PASSWORD in the file common/dex/base/dex-passwords.yaml:
stringData:
  DEX_USER_PASSWORD: <CHANGE_TO_YOUR_HASH>
Increase inotify limits
In most cases, you probably need in increase watch file limits to run more pods. Run the following commands to increase these limits:
sudo sysctl fs.inotify.max_user_instances=2280
sudo sysctl fs.inotify.max_user_watches=1255360
If you see your kubeflow pods stuck with status CrashLoopBackOff, this is
likely the cause. Run the commands above to fix this issue.
Deploy Kubeflow Platform
Now we are all set to deploy the Kubeflow Platform. Make sure you are still in the manifests repositories root directory, run the following command to deploy the Kubeflow Platform:
while ! kustomize build example | kubectl apply --server-side --force-conflicts -f -; do echo "Retrying to apply resources"; sleep 20; done
This command may take a few minutes to run. Once it’s done, make sure all the pods are up and running, and set up proxy through
kubectl port-forward svc/istio-ingressgateway -n istio-system 8080:80
Now, go to http://127.0.0.1:8080 from your browser. You will be asked to login
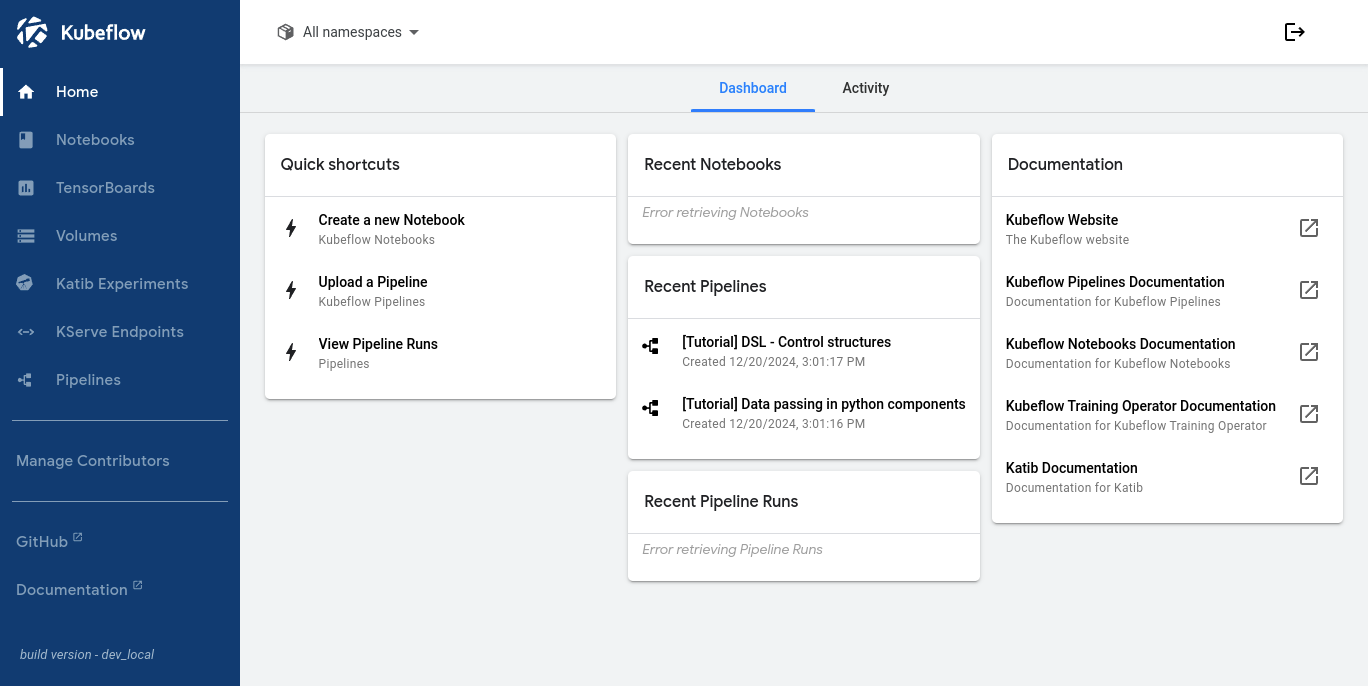
using the email and password you created earlier. After logging in, you should see your
Kubeflow Dashboard up and running.
That’s it!
Create a namespace (optional)
You can optionally create a kubeflow namespace by following the instructions here. Make sure the onwer credential matches the email in the earlier step.